Showing posts with label dessert. Show all posts

2016-07-17

Ice Cream Day


Hello,
Hope you are all doing great!

Today is National Ice Cream Day in the US, and since most of my readers are in the US I thought I'd celebrate with you by sharing an ice cream recipe.

The base of this ice cream recipe is the same as the one in this post. You only need sweetened condensed milk, heavy cream and vanilla. And then you can flavour it which ever way you want. I decided to add chopped bits of my favourite chocolate bar, Daim, in it.


Daim is a crunchy toffee bar covered in chocolate and it is delicious. I have memories of ice cream made with Daim from middle school when we used liquid nitrogen to make ice cream in chemistry class.

The internet told me that the Heath bar and the Skor bar that are available in America are similar to the Daim bar. In other news, Skor in Swedish means shoes.
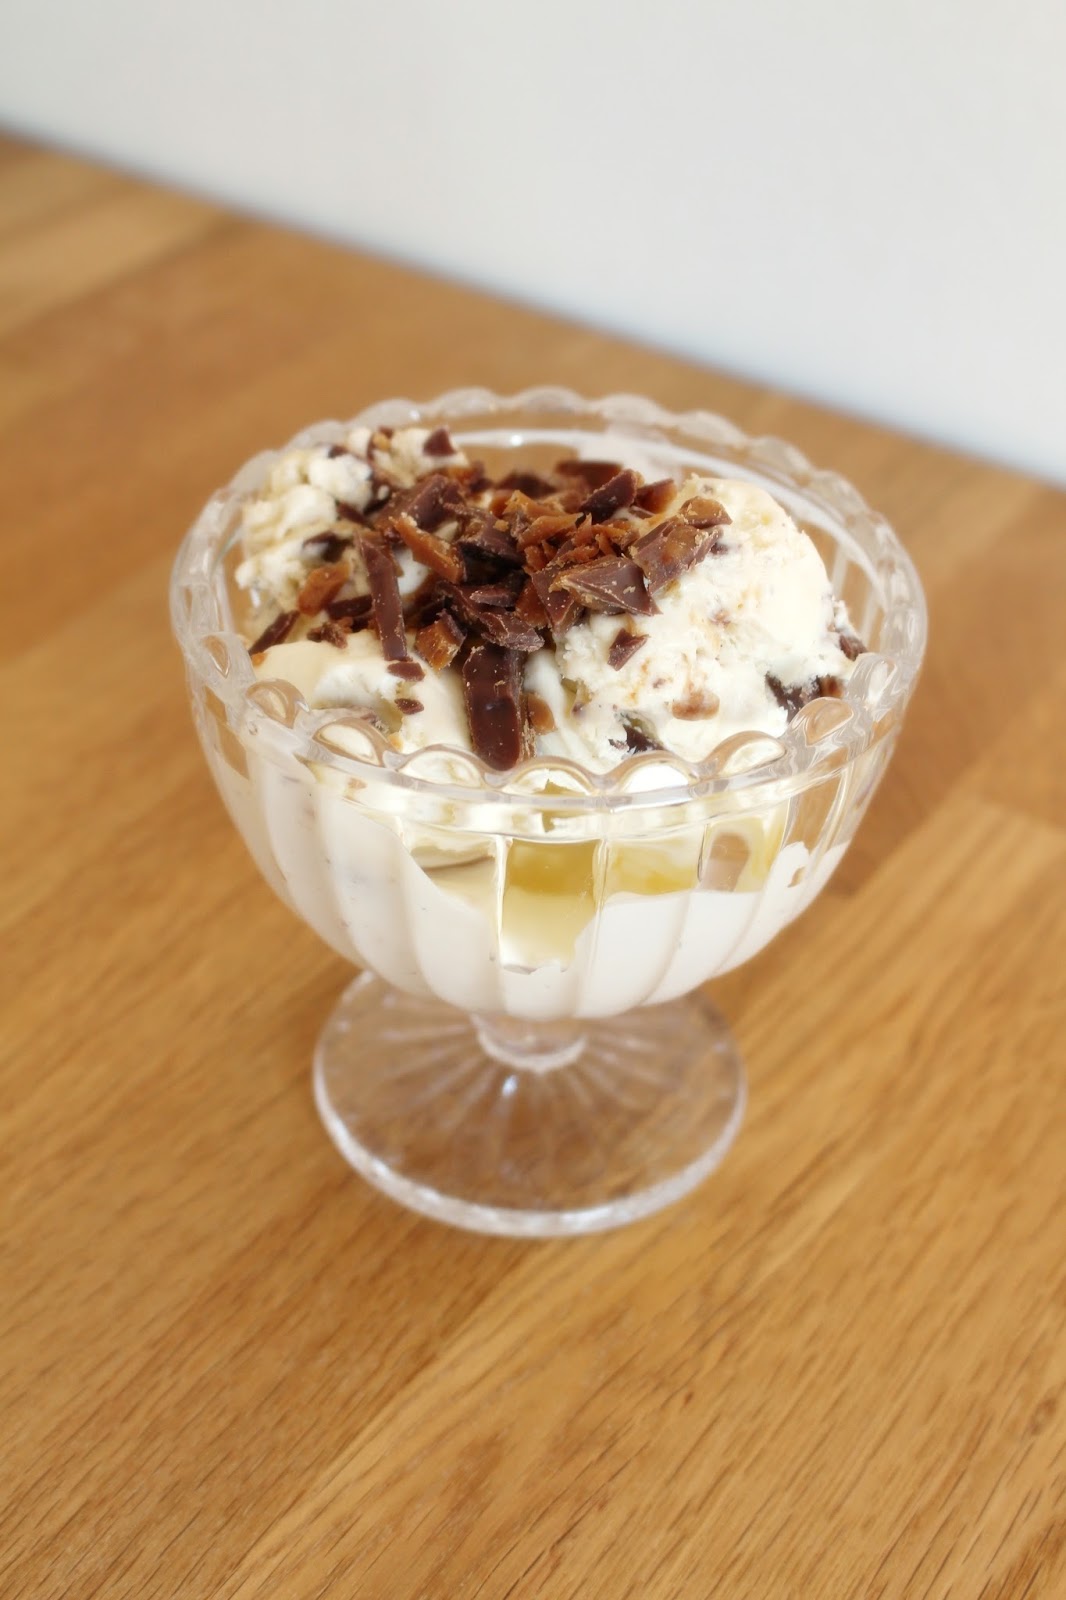

Easy Daim Ice Cream

Recipe adapted from Manuela Kjeilen.

INGREDIENTS

  • 1 can (397 grams) sweetened condensed milk
  • 4 dl whipping cream
  • 0.5 teaspoons ground vanilla pod
  • 1 double Daim bar (56 grams), chopped

DIRECTIONS

Place the condensed milk and the whipping cream in the freezer for 20 minutes before you start. Take out the condensed milk from the freezer and pour it into a bowl. Whip it with an electric mixer until it is a bit lighter and fluffier. Pour in the whipping cream and continue to beat until it becomes thicker. Add the vanilla and the chopped Daim, and whip some more until it is fluffy and thick. Pour into boxes or bowls and place in freezer chilling it, preferably over night.


Hope you all have a fantastic Ice Cream Day!
Much love,

2016-04-26

Screaming for Ice cream


Hello all you beautiful people!
Hope you are all doing well, and I hope that spring has reached you where ever you are. I wish I could say that spring has reached me here in northern Sweden, but yesterday we had a snow storm, and it seems like spring will never come.

I wanted to write a post about this really easy-to-make ice cream, and I thought that the end of April would be a good time to share the recipe because the weather has warmed up then, but no Sir!

Petulantly I will share this post anyway, cold weather be damned!


So about this ice cream, it is a recipe that I saw on Manuela Kjeilen's (of Passion For Baking) tv show "Baka med Manuela" that aired here in Sweden. It's really easy, and doesn't require an ice cream making machine (which I don't have), so you can just about do it without any tools (although an electric mixer is good to have).


Easy Vanilla Ice Cream

Recipe adapted from Manuela Kjeilen.


INGREDIENTS

  • 1 can (397 grams) sweetened condensed milk
  • 4 dl whipping cream
  • 0.5 teaspoons ground vanilla pod


DIRECTIONS

Place the condensed milk and the whipping cream in the freezer for 20 minutes before you start. Take out the condensed milk from the freezer and pour it into a bowl. Whip it with an electric mixer until it is a bit lighter and fluffier. Pour in the whipping cream and continue to beat until it becomes thicker. Add the vanilla and whip some more until it is fluffy and thick. Pour into boxes or bowls and place in freezer chilling it, preferably over night.


I served my vanilla ice cream with my chocolate brownies, and they were SO good together. To see my brownie recipe click here. I added a bit of colour with sprinkles from Sweetapolita (here).

It really is super simple to vary this recipe and create different flavours. In another post I will show you how you can create other yummy ice cream flavours.


For now though, I wish you the best of days!
Much love,


2016-04-09

Chocolate Brownies


Hello all!
Hope you are having a great day and a wonderful weekend.
I recently went over to a friend's for afternoon tea or "fika" as we call it here in Sweden. I don't like going empty handed anywhere so I brought brownies with me.


The brownies were popular and I was asked for the recipe, at which point I very quickly wanted to say that it was on my blog. But guess what? Even though I've talked about brownies on the blog before, and have shared the recipe in a feature on Lindsey's blog Have Clothes, Will Travel, I have never actually shared the recipe for my favourite brownies on the blog. I am making amends to that now.


Chocolate Brownies


INGREDIENTS

  • 120 grams dark chocolate, chopped in pieces
  • 115 grams butter, chopped in pieces
  • 200 grams sugar
  • 1 teaspoon vanilla extract
  • 2 eggs
  • 100 grams flour

DIRECTIONS

Preheat the oven to 165°C.
Melt the chocolate and butter in a bowl over a saucepan of heated water. Add the sugar and vanilla, whisk. Whisk in the eggs, on at a time. Stir in the flour. Pour into a 20x20 cm pan and bake for about 25 minutes.


I usually add chocolate ganache to the brownies once they've cooled for extra chocolatey-ness. Find the recipe for chocolate ganache here.

And lastly add sprinkles. These sprinkles that I used here are from Sweetapolita, and it's called Galaxy Twinkle Sprinkle Medley (on etsy: here). I just love Sweetapolita's sprinkles. They are so beautiful and really add to anything you put it on. These plain brownies looked so pretty with the sprinkles.


Now I can finally say that my famous brownies are up on the blog!
Have a beautiful rest of the week.

Much love,

2016-02-13

I Donut Want To Be Without You


Happy Valentine's Day!!

I hope you are all having the best day filled with love and happiness, sharing your time with people who matter to you.

You all matter to me, so on Vday I just want to say thank you for reading this blog. You guys make this a lot more fun! Lots of love to all of you <3


For Valentine's Day I decided to make doughnuts this year. Last year I made cupcakes, but this year I felt like it was time for some doughnuts. I sprinkled my doughnuts with hearts, pearls and red glitter sprinkles - all of it feeling very appropriate for Vday.


And today is all about love, so let me just say this - I LOVE doughnuts!!! And I LOVE sprinkles!!!
I aptly wore my pink doughnut dress, and had the person I love the most (my wee big sister) snap some photos of me while I ate the delicious pink things.


I've shared the recipe I use for these cake doughnuts on the blog before. In fact it was last time I wore this amazing dress for the blog. I just love this dress. Find the recipe here.


Much love on this day and all others,

2016-02-07

Fat Tuesday


Hello all you lovely people.
Tuesday the 9th of February, is Shrove Tuesday, or Fat Tuesday also known as Mardi Gras. In Swedish we call it Fettisdag (= Fat Tuesday). Historically it's a day where you gorge before the beginning of fasting. But in Sweden it is nowadays mostly celebrated by eating the pastry known as Semla.


A semla is a delicious thing. The flavours are so balanced and go so well together. It really is a masterpiece in my opinion, and I wouldn't change anything about it.


Let me tell you what a semla actually is. It is a yeast-proven dough with cardamom made into buns. Once cooled, the buns are cut at the top, to form something like a lid. The insides of the bun is emptied (not completely, the actual bun is very tasty too, so you ought to leave quite a bit of it). The empty "well" that is created is filled with almond paste. Whipped cream is piped on top of the bun, and then the lid is placed back before dusting it with powdered sugar.

And let me tell you this, a semla really is a sweet piece of heaven.


Semla


INGREDIENTS

  • 50 g butter
  • 1,5 dl milk
  • 25 g yeast
  • 1/2 dl sugar
  • 1 small egg + extra for egg wash
  • 1 teaspoon cardamom
  • 2 ml ammonium bicarbonate (can be omitted)
  • 5 dl flour
  • 200 g almond paste
  • 5 dl whipping cream
  • 3 teaspoons vanilla sugar
  • powdered sugar

DIRECTIONS

Melt the butter and pour in the milk. Add yeast and whisk until dissolved.
Add the sugar and then the egg, whisking while adding them.

Pour in the dry ingredients (cardamom, ammonium bicarbonate and flour). Cover and let prove for 30 minutes.

Roll the dough into round buns (I make this amount of dough into 9 equal sized buns). Cover and let prove again for 1 hour. Turn on your oven to 200°C. Egg wash the buns.
Bake for 8-10 minutes.

Let the buns cool to room temperature. In the meantime mix the almond paste with un-whipped whipping cream until you have a soft, pipeable consistency. Whip the rest of the whipping cream together with the vanilla sugar until soft peaks.

Cut off the top of each bun. I use scissors and cut out a triangular shape. Leave the lid for later use. Empty the middle of the buns, creating little wells. Pipe or pour the soft almond paste into the wells of each bun. Pipe the whipped cream onto the filled buns using a star tip or closed star tip (I use Wilton 2d). Add the lid on top of the piped cream, very gently pushing down a little. Dust the lids with powdered sugar.

Enjoy!


Much love,